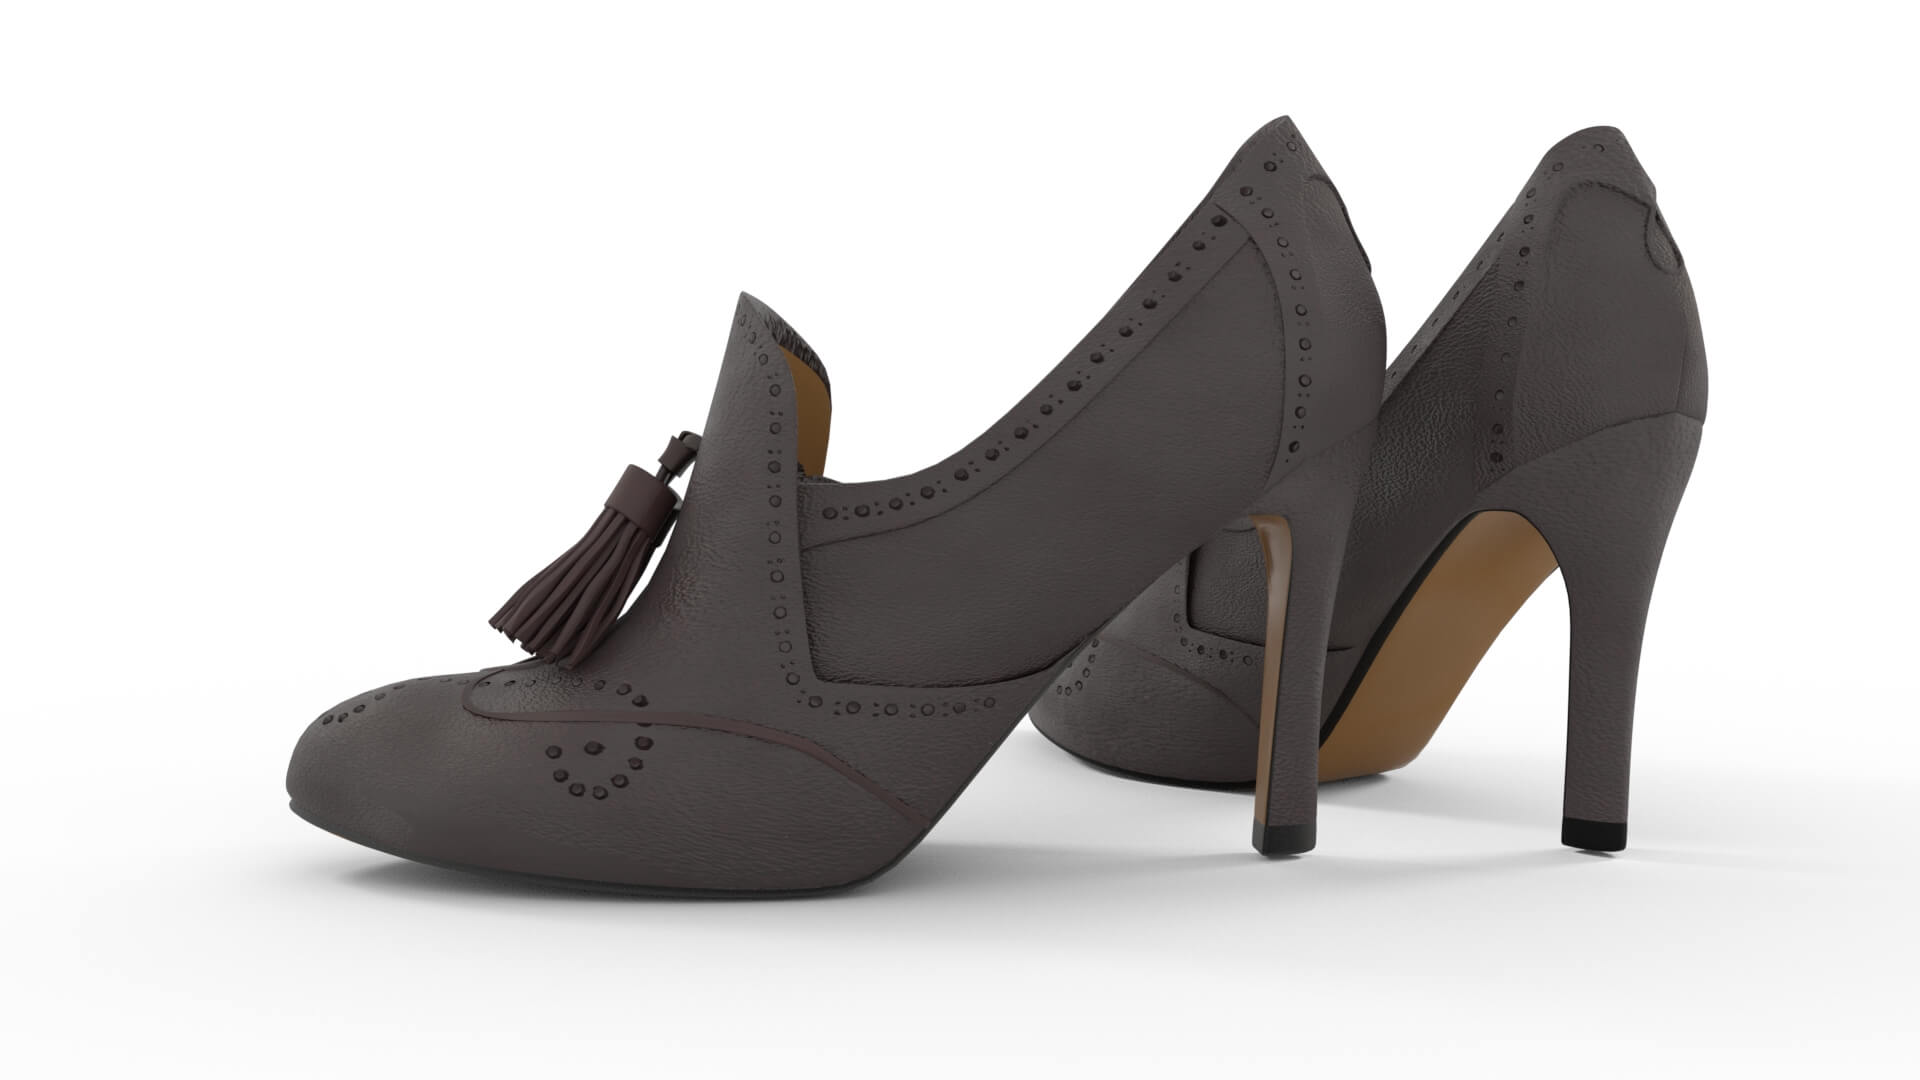
3D design prototype of women’s luxury shoes
Design is hard! 3D design is 3x as hard. But, creators who keep these five things in mind will be more successful with their augmented reality (AR) projects.
So, here we go:
1. Know your goal
It may sound obvious, but a proper understanding of what you are trying to achieve will determine what you need to do. It is probably no surprise that there will be a big difference between creating a 3D experience for a simple and fun AR effect on Instagram and the creation of a detailed and carefully crafted 3D product design of a women’s high-heel leather luxury shoe with the intention of testing its looks in real world environments before going into physical production.
It may, however, not be as obvious that the difference in your approach may vary significantly between designing 3D AR experiences for consumption on a webpage (webAR) compared to AR in a downloadable app. The scale of your project goal will also make a big difference in your approach. Are you planning on showcasing one or two AR experiences only? Or do you have an inventory of dozens or perhaps thousands of products and 3D models? Try to think ahead to define your goal as good as you can. It may prevent you from pitfalls and having to go back to the drawing board after unnecessary missteps.
2. Know your tools
Pixels are the brick and mortar for “spatial computing” and every set of pixels in AR is essentially a 3D model living in a three-dimensional space. Legacy CAD (Computer-Aided Design) software applications have been used by product designers, architects, and engineers for decades running on desktop computers with endless storage and processing power. Since the emergence of AR on smartphones, tablets, and AR glasses, a new breed of authoring tools has emerged to accommodate the needs of these new “mobile” devices.
We all like free tools and the good news is that there is lots of free authoring software out there. ‘Blender’ is a popular, powerful, and open-source 3D design application, which is widely used by both professional as well as casual designers alike.
‘Unity’ has had a very successful run in the last 10 years or so and is more specific in its purpose as an authoring tool, originally being a 3D game engine giving mostly indie developers a platform to build games for smartphones. Today, Unity is powering the majority of AR apps out there as it is known for its ease of use. A great alternative to Unity is Epic’s Unreal Engine by the way.
Even Apple is now offering a suite of tools to make the creation of 3D experiences more accessible. Reality Composer is a great example of a free yet powerful piece of software, helping developers create interactive 3D content for webAR or more specifically for ‘AR Quick Look’ on Safari.
In the context of social media AR, we have all enjoyed those fun filters putting bunny ears on your head or placing a pair of glasses on your face. With Lens Studio and SparkAR, both Snapchat and Facebook (including Instagram and Messenger) have introduced 3D authoring tools for creators.
3. Know your resources
There are many resources to consider when designing in 3D. In at least 90% of the time, a 3D design project for AR will require some level of customization and the skillful hand of a professional 3D designer. However, sometimes the easy approach of using something that already exists may be possible. The bandwidth of resources out there ranges from “simple and free” to “highly sophisticated and costly” 3D content stores.
With Poly, Google offers a large library of simplified (low number of polygons) 3D models to choose from, while Sketchfab for example has established itself as perhaps the leading provider of prefabricated 3D models made available for free or for varying license fees by its community. Turbosquid is another huge resource for 3D models offering content in all kinds of 3D file formats, which brings me to my next point.
4. Know your 3D model file types
Your device does not support AR.
Please switch to a mobile device and scan the QR Code.

The most confusing and probably the most challenging aspect of 3D models is that they come in countless formats. In the 2D world of images and pictures, you are likely familiar with .jpg and .pdf and probably know what they are used for in each case. In spatial computing, there are dozens of 3D model types, most of which were created by the 3D authoring tool companies.
Some of the more popular 3D file formats are .stl, .obj, and .fbx. Filmbox (.fbx) in particular is often used by designers to transport or exchange a 3D model from one 3D software program to another. So you will see .fbx as probably the most popular file format in terms of compatibility with some of the above-mentioned tools.
As 3D content is increasingly used to design web pages, a fairly new 3D file format called .glTF has emerged only a few years ago. The creators have actually called it the JPEG for 3D. Apple, as we all have experienced it, is known for establishing its own standards and there is no exception when it comes to 3D file formats in the context of AR. Only two years ago, Apple introduced its new open file format called .usdz, which is designed to more deeply integrate AR, especially on web pages.
5. Know your size limits
Size always matters when it comes to 3D design if intended for use on mobile devices. An architect’s 3D model of a building for example is likely to be many gigabytes in size, provided it has the level of detail to show all floor designs and perhaps even each screw of every door handle. If you wanted to augment this onto an empty plot of land to show it off to a potential buyer, you are likely to run into some technical issues. This scenario is not impossible of course, however, the 3D model may need to be scaled down and optimized for viewing it on an iPad, especially if it is not preinstalled on the device but needs to be downloaded via your mobile internet connection on the go.
A social media AR experience on Instagram has a total file size limit of 4MB, which leaves you with a fraction of it available for the 3D model(s) used for the actual experience.
When it comes to webAR file size limits, 20MB should be your cap, 10MB is actually the better limit for an experience to run smoothly in a mobile browser on most devices with a decent internet connection.
Knowing your limits will have a significant effect on what you can and cannot do in terms of reaching your goal. The file size of a 3D experience is generally the sum of the length and complexity of the animations, the number of polygons, and the materials and textures used, which all translates to the quality and how realistic the objects appear. You will notice that the video at the top of this article will show the women’s shoes in a much better quality than the one below. The above video is a very high resolution rendering in front of a plain background, while the below is an optimized version running in AR on a mobile webpage (webAR).
For feedback on this article or any questions you might have, please reach out to me via twitter @andygstoll or use the contact form at the bottom of my homepage.
